Posts

Final Project Submission

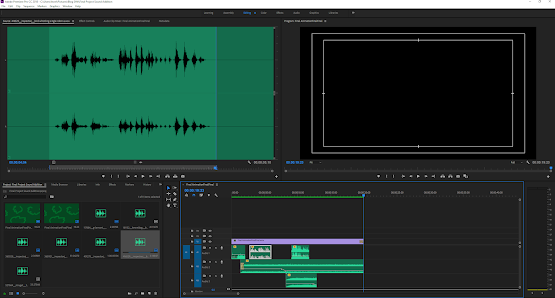
  This is my final animation sound and its pretty rough, but that was probably going to be the case from the beginning. I did learn a lot from my research into what programs and techniques to use and I am pretty happy with the end result I just wish I had come up with what I wanted my final project to look like on week one instead of like week 6 but live and learn I guess. I will submit my final video presentation as well as my outline to this project in the next day I still have some editing to do. 

Adding Sounds

Image
 Quick final update before I post my final project I went in to Adobe Premiere to add sounds to my animation as I like the program for video and audio editing and I just wanted to post what my final timeline looks like. I used sound effects from freesound.org a free sound effects database and was able to get all the sounds that I wanted for my project. This is my final set up in Premiere I was able to get everything where it needed to be in post. I exported my animation from Toon Boom Harmony as a movie file and then straight imported it into a Premiere project. The final version will be my next post to my blog. Reflections:  I wish I had more time to figure out adding sounds in Toon Boom itself but I am running out of time and I don't like the quality at which the project exports itself from the program. References: freesound.org https://www.adobe.com/products/premiere.html

Making it Rain

Image
 From my previous post you can see that I have gotten the camera movements I wanted down. IN this post I want to break down my process for adding in cloud movement, darkening the sky, making the rain effects and adding in some lightning effects as well.  I started with some research into making rain effects happen in Toon Boom and it seems that there are several ways the program even has its own particle effects system if you pay for the higher tiers. Looking back though I may have to find a better tutorial for the effects that I want. I took reference from my previous shooting stars animation and am going to use the same technique for the creation of rain, but we can't have rain without clouds. Below you can see the mock up I did. Using keyframe animation I created cloud assets and then added a few more clouds and brought them in using keyframes. I also used the same lighting effect I created for the blinding light camera effect and repurposed it for a quick lightning effect.  Aft

Practicing Camera Movement in Animation

Image
                                Steven Universe Future For my animation I wanted to a simple camera movement mimicking the multiplane camera effect famously created by Disney animation studios to mimic camera movement in early animations. I didn't want to go too extreme with the camera movement as that can require the creation of a ton of assets that would take up most of my time with this project.  To start I created 3 separate layers for my animation to create my own multiplane. Top Layer: Anything in front of the animation layer I am going to place here. Rain, Foliage, Fog, etc. Middle Layer: This is my main animation layer with the waterfall animation Background Layer: This is just the background layer with the trees so i can attempt to mimic a swaying tree kind of camera movement. It ended up not looking as great as I wanted. I can also use this layer to change the lighting of the sky. I looked for several techniques on how to make camera movement and I am trying to create my

Final Project plan update

Image
 I spent some time updating the storyboard last week I just wanted to make a post about updating my plan again. Here is a bigger version of my storyboard and I am laying out the techniques I am trying to learn for this project.  Techniques for animation: 1. Waterfall animation 2. Camera movement 3. Lighting changes  4. Clouds and Rain I wanted to cut down on one of the techniques I was trying to learn as it was a big ask and attempting to do both the rain and fog was a big time sink something I don't have much of. Here is my updated storyboard. I also plan on adding sound effects for the final part of the animation to add to the realism. 

Final Project Plan

Image
 Laying out the time line and a little story board for my final animation going to try and get all the techniques into separate blog posts and post them all in the upcoming week. My overall plan is to create a 15-20 second animation if i am going to do that with hand drawn frames it would take about 480 frames for the full animation and I should plan on making it loop so I can create a gif if I want for my demo reel.  Here is a short storyboard of what I am planning on doing for my final animation hopefully I am ablet o implement everything I planned and work out the smoothness of it. I am not worried about polish anymore I am just trying to cram as many new techniques as I can learn and have learned into this thing I definitely wasted a lot of time with polish and not knowing what to do for my project until now. Step One: A focus on camera movement to try and nail the look of a real camera I think I have some of      the know how already to pull this off because of my actual practica

Workspace Set Up

Image
 Just wanted to archive my set up for how I am working in Toon Boom Harmony for future reference. I took a few pictures of my set up and then I'll break down what each thing is. A simple set up using Duet Display Pro to create a third screen on my iPad and I use that plus a tablet pen to draw the frames. I drag the camera window over to the third screen and switch the frames on the timeline on my main monitor.  I find it easier to work with the camera tab on my iPad so that I can see the background while I am creating the frames. Also onion skinning with the layers helps immensely.  Here is a closer look of my main monitor and what it looks like in the drawing window when the camera window is on my third screen.