Creating Assets with Procreate
So I went back to the drawing board literally based on advice I had gotten last week on creating several different assets for my project so I can have several different versions of my final project in the form of different seasons.
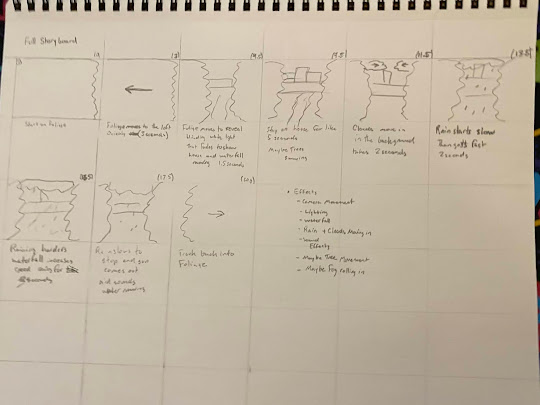
This week I was able to come up with the base assets I need to create my project and now all I need to do is plan out the rest of the things I need to create by plotting them out the same way you would if you were planning a film shoot or writing a script and considering my background in film it should not be that hard a task.
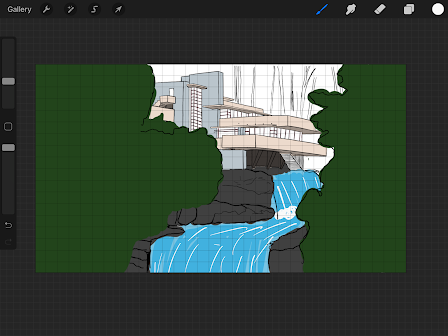
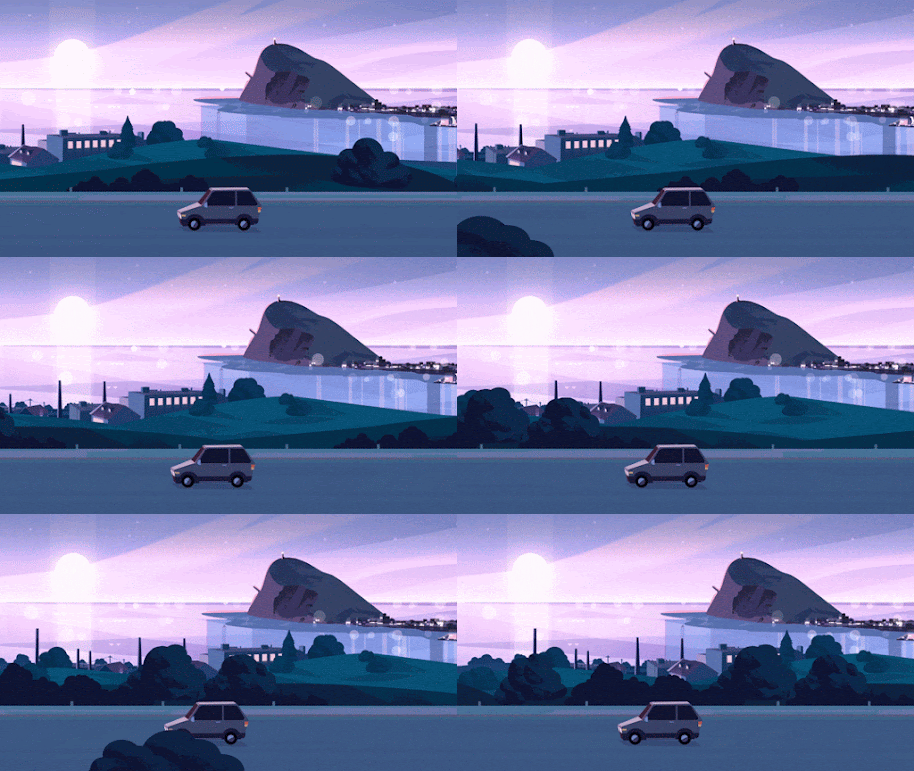
I started out in Procreate and taking my initial sketch from last week and redoing the lines to make it look more streamlined and less hectic. Last week I was able to trace over the building and create kind of a preliminary sketch my original idea was to create the whole background and then add animated parts. After the feedback I got from class last week I took everyone's advice on creating different assets and then using them in a multi plane camera kind of style similar to Disney's classic multiplane camera techniques. I used the base of my original drawing to create my first asset the building itself. Using an inking pen instead of a pencil I was able to capture a smoother looking house design.
I was able to use procreates grid tool and its Quickshape tool to create straighter lines and create the house. I wanted to house to be the middle ground of the multiplane so that I would have a fore ground a middle ground and a background behind the house to create the scene. I wanted to keep the house separate but I added the waterfall and rocks into the middle ground as well because I thought it looked good with the house. I also started the initial coloring of the middle ground.
I also altered the water fall a bit so that I could see the starting flow and opened up the bottom area where there was more of a rocky shore in my refence in an attempt to create something more visually appealing through drawing.
Here I added some color using the same pen tool and adding a background layer to color everything in like a coloring book almost but through Procreate I am able to go back and merge down the layers to create single layers that can be identified in toon boom through a .psd file.
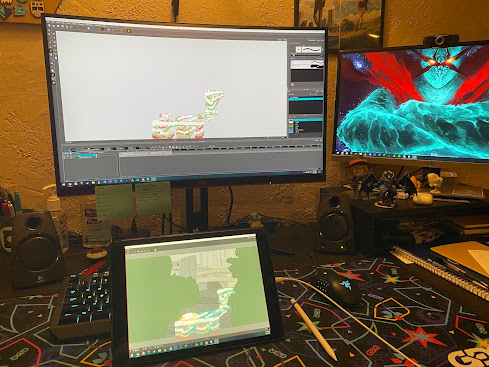
Finally I started working on the foreground layer by just mocking out where it was going to go by placing lines and then using green to mock out what the foreground is going to cover. I definitely need to work out what the finished foreground is going to be to make it look more 3D but I don't have a ton of experience drawing trees so I am going to have to work on that more over the weekend. So far I like the way it is coming together and once I get all my assets together I can slowly start importing them into Toon Boom and work on adding the animation.


Comments
Post a Comment